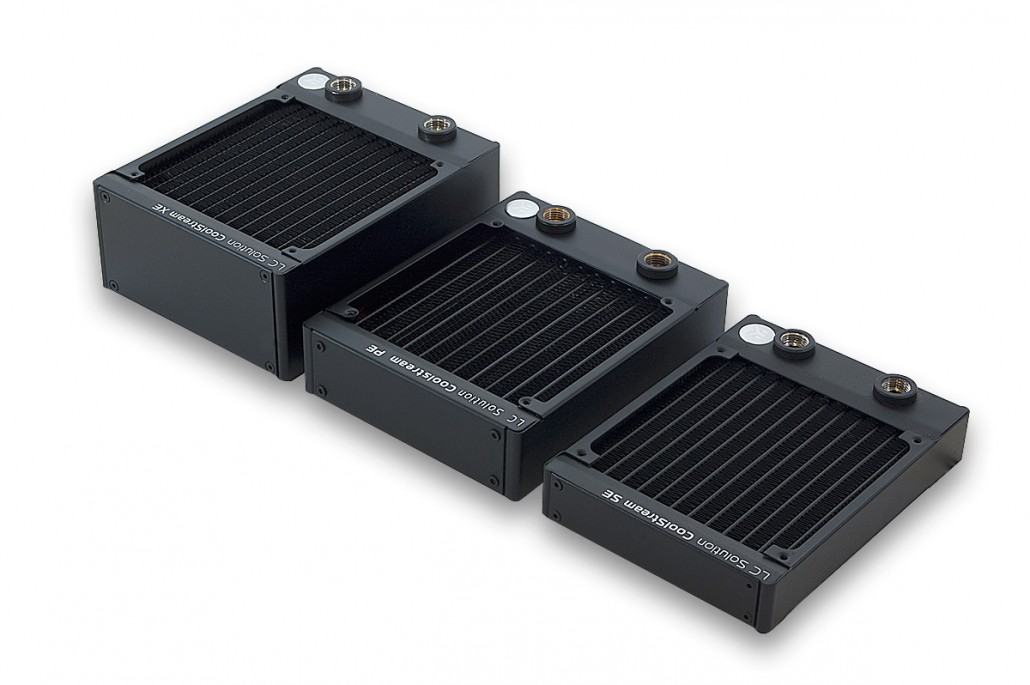
Recently, we discussed different approaches to liquid cooling: all-in-one, kits and complete custom loops. Today we’re going to take a look at one of the core components of any liquid cooling loop, the radiator. Radiators come in various sizes and thickness, but how do you know which size is appropriate for your components?
What is a Radiator?
First, let us quickly explain how radiators work. Radiators exchange heat with the surrounding air thanks to the stacks of copper fins that make up their cores. Cool air is forced into contact with those copper fins with the help of a fan, causing the air to pick up the heat radiating from the fins and removing that heat from the loop as water flows through the fins. The more surface area you have (either by using larger radiators or by a combination of smaller radiators), the more heat that can be removed from a loop at a given time. With this in mind, you could assume that more is usually better when it comes to radiators in a loop, allowing for potentially quieter operation as fans can be run slower for similar thermal performance.
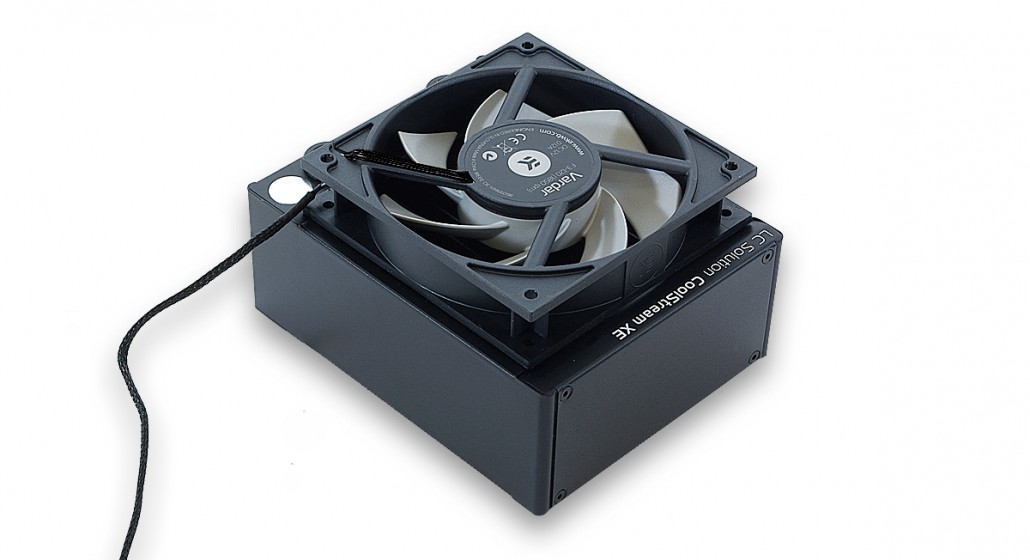
Radiator (EK-CoolStream 120 XE) with EK-Vardar fan
The 120mm per Component Rule
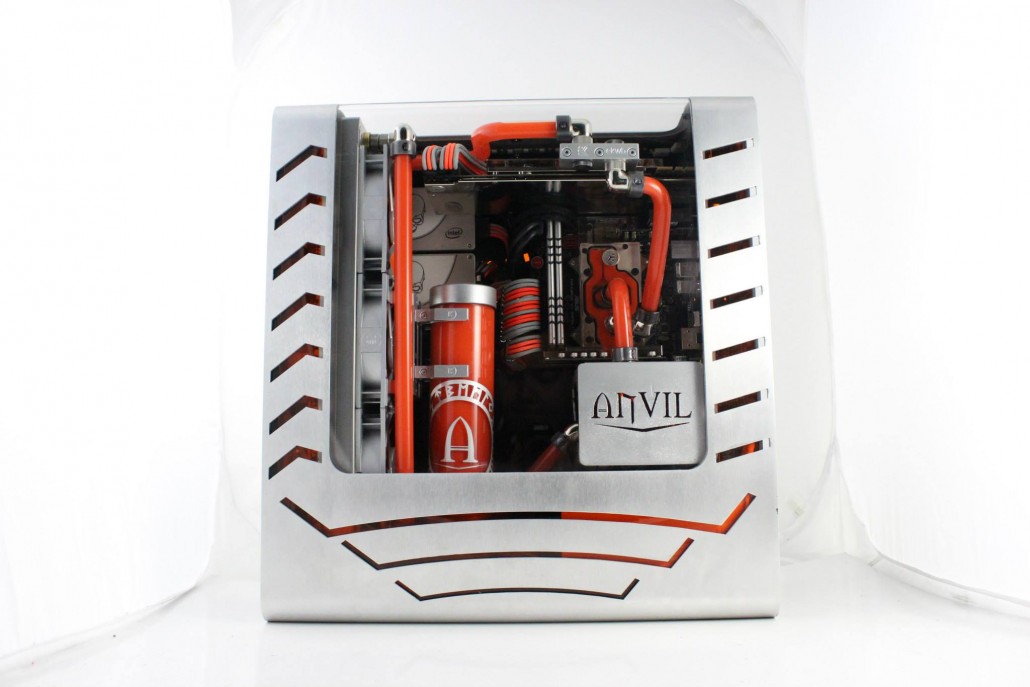
A common rule of thumb that has been passed around the online forums is that you should dedicate 120mm (or 140mm) of radiator space per component that is to be cooled, with an additional 120mm (or 140mm) of radiator space if you are going to be overclocking. Following this rule means that you’d have to dedicate 240mm of radiator space to a single overclocked component (which you can see in the picture above), 360mm of radiator space for two overclocked components (as you can see in the build below), and so on. While this rule generally holds true and helps to minimize some confusion for beginners, not every chassis allows you to follow this rule without modification.
The sweet spot for CPU & GPU Loop is one 360mm radiator for three 120mm fans. (ANVIL build by Chris Stolze)
Getting Creative
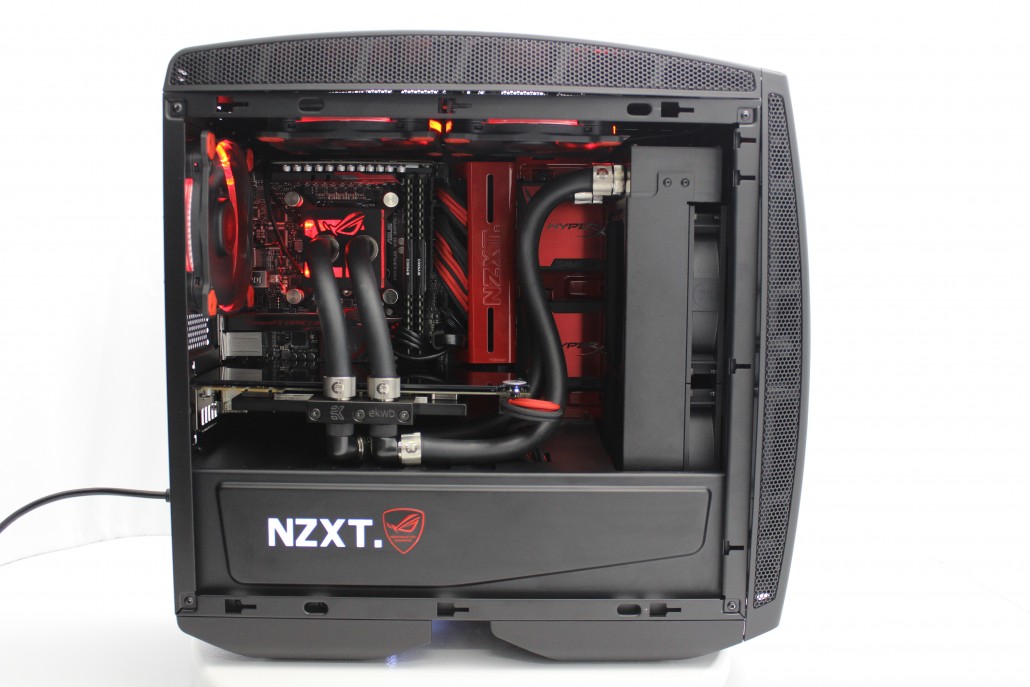
In the loop pictured below, you can see that a CPU and GPU are cooled by a single 240mm radiator (in this case, an EK-XLC Predator). If you divide the 240mm radiator by the number of components being cooled, you can see that there is 120mm of radiator space per component. Comparing this to the general rule from earlier, we have got the radiator space needed for normal operation of the CPU and GPU, but do not have the extra 120mm of space usually recommended for overclocking. In this instance, the lack of the extra 120mm of space has been addressed by running the pump and fans of the loop at higher speeds, which results in a higher flow rate within the loop and increased airflow through the radiator, but also a slight increase in system noise.
ROG Manta by Chris Stolze
Conclusion
In conclusion, the total surface area provided by the radiators in your loop is a significant factor when it comes to thermal performance. By following the 120mm of space per component rule and adding an additional 120mm of radiator space for overclocking, you can easily configure a loop that will keep your components running cool and cope with the extra heat generated from overclocking. While it is true that more radiator space is better, not every chassis allows for more radiators to be installed (especially as you go with smaller form factors) so feel free to be creative and experiment with different pump/fan speeds or even modify your chassis!
If you have any questions or comments, feel free to comment below! 🙂





I believe this article leaves a lot to be desired unlike other articles on the website. You cannot go into subject of how much radiator space a person needs without talking about thickness, FPI, waterflow and fan speeds. There are specific thermal measurements a radiator can dissipate from all those variables. All these measurements are available from xtremerigs if localized testing is too demanding.
I just think this article demands a lot more than the simple 120mm per component, and another 120 for overclock.
Thanks for the reply Erik!! We are going to go into more details in one of the future articles about radiators!
You’re welcome. Keep up the great work with other guides. Another small suggestion – separate buyer guides from mods in the blog somehow. Much harder to scroll through all the blog articles in search of guides for buying.
Disregard that, just noticed they are in FAQ section 😀
Choosing the right radiator is a lot more complex. It depends what are you cooling. Let say a i7 6800k which is a 6 core cpu.If you push it to 4GHz, you gonna be fine with one 120mm rad 60mm thick, but If you want to hit 4.3GHz you gona nead a 360mm rad… without max spead on fans 24/7. I am running the same CPU on 4.4GHz with a 480mm 60mm thick rad. It’s an overkill but It’s quiet. It all depends how much heat does the component produce. I can ensure you that a i7 7600k/ 7700k on 4.4-4.6 GHz and a GTX 1070/1080… will do just fine with a 480mm 60mm thick radiator. Something you need to consider is the pump… it’s max flow. The general rule is a 280mm 60 thick rad is worse than a 360 30/40 thick rad. A rad with a larger surface, will be able to cool much more efficient, than a thicker and shorter one.
ps. are you the same Andrej Škraba, which is the author of Astra.si?
Yes he is. 🙂
I was hoping if I could get some input. I just bought two evga 1080ti ftw3’s and have a 4930k that I run oc at 4.5ghz. I plan on buying everything here to put in a custom loop. I have in my cart 1 coolstream xe 360 and 1 xe 240 60mm. which according to your configurator should fit in my corsair 760t case with a asus rampage 4 black edition mobo. according to this article I want to verify that what I plan on buying will be enough to keep temps below 45c for the gpus and and whatever the cpu temps should be for custom loop all being oc? I am new to this and spending a lot of money and doing my best to do as much research before i pull the trigger. I am eagerly awaiting for your full cover blocks for the ftw3’s. the configurator says my water temps will be 33c not accounting for overclocking.
thank you for your help.