Learn more about EK products
Visit EK Shop
Browse our high performance Quantum, Lignum and Classic product lines, Kits and Accessories.
Fluid Gaming Prebuilt PCs
Not the DIY person? Check out our fully water-cooled prebuilt PCs.
This website uses cookies. By continuing to use this website, you consent to the use of cookies in accordance with our Cookie Policy. By clicking “Accept All”, you agree to the storing of all cookies on your device. To learn more about our Cookie Policy and how to manage cookies, click here.
*Updated 4th of October 2019.*
CLC stands for “Custom Loop Configurator” and by knowing that, you get the general idea what it’s good for. The CLC is a one of a kind, there is no other similar webpage/software available that will help you to build your basic custom liquid cooling system. We say “basic” because, in the end, it is up to the user and his creativity how will he utilize his liquid cooling gear. The Custom Loop Configurator holds the largest and most complete online base of hardware components, of which we are very proud of! The interactive nature of the CLC guides you through nine simple steps which will provide you with a list of necessary parts. The parts will be listed based on your needs and desires, while the CLC will make sure that you get the matching fitting and tubing size, that you get the right water block and that you don’t miss any key parts.
The popular YouTuber JayzTwoCents already did a complete video guide on the CLC where he explains how to use it:
If you want to get to know the Custom Loop Configurator in detail, step by step and prefer the good-old textual form, you can just continue reading this blog material that we prepared for you.
The first step consists of you, the user, giving the CLC input about your hardware. The starting point of a standard custom liquid cooling loop is the case in which everything will be housed. In the database of the CLC, there are around 200 cases what means your case is 99% listed, or if it isn’t, it probably does not support liquid cooling. The next two key steps are to enter the model of your motherboard and graphics card, or cards if you have more than one. The final step on page one is to enter the number of RAM modules that you have because memory modules can be liquid cooled as well. If some of your hardware is not listed, even if it is your case, and you feel that it should be checked and listed, just submit a Compatibility inquiry form, and the EK team will check it for compatibility.
This is a very simple step where you need to choose which parts would like to liquid cool. Depending on your hardware that you own, you can liquid cool your CPU, GPU (or multiple GPUs), motherboard and RAM. The options of cooling your CPU, GPU and RAM are pretty straight forward and the CLC will pick the corresponding water blocks for your hardware. If you choose to liquid cool your motherboard, depending on the model you own, the CLC will offer you either a Monoblock option or a CPU water block and a separate VRM water block solution. For our demonstrative needs, we will pick to liquid cool the CPU and GPU.
The next step will let you choose from the two main focus points and benefits of liquid cooling. Overclocking performance, silent operation or both at the same time. Based on your choice, the CLC will automatically offer you a radiator, or combination of radiators. You can also choose “Expert mode” at the bottom of the page for additional options for fine-tuning the heat dissipation of your loop. Beside that, you have the option of going for 5V D-RGB(addressable) where you can contol every LED separately, or 12V RGB where all LED’s on a header are of same color at a time. Alternatively, if you dislike RGB, you can go for no RGB option!
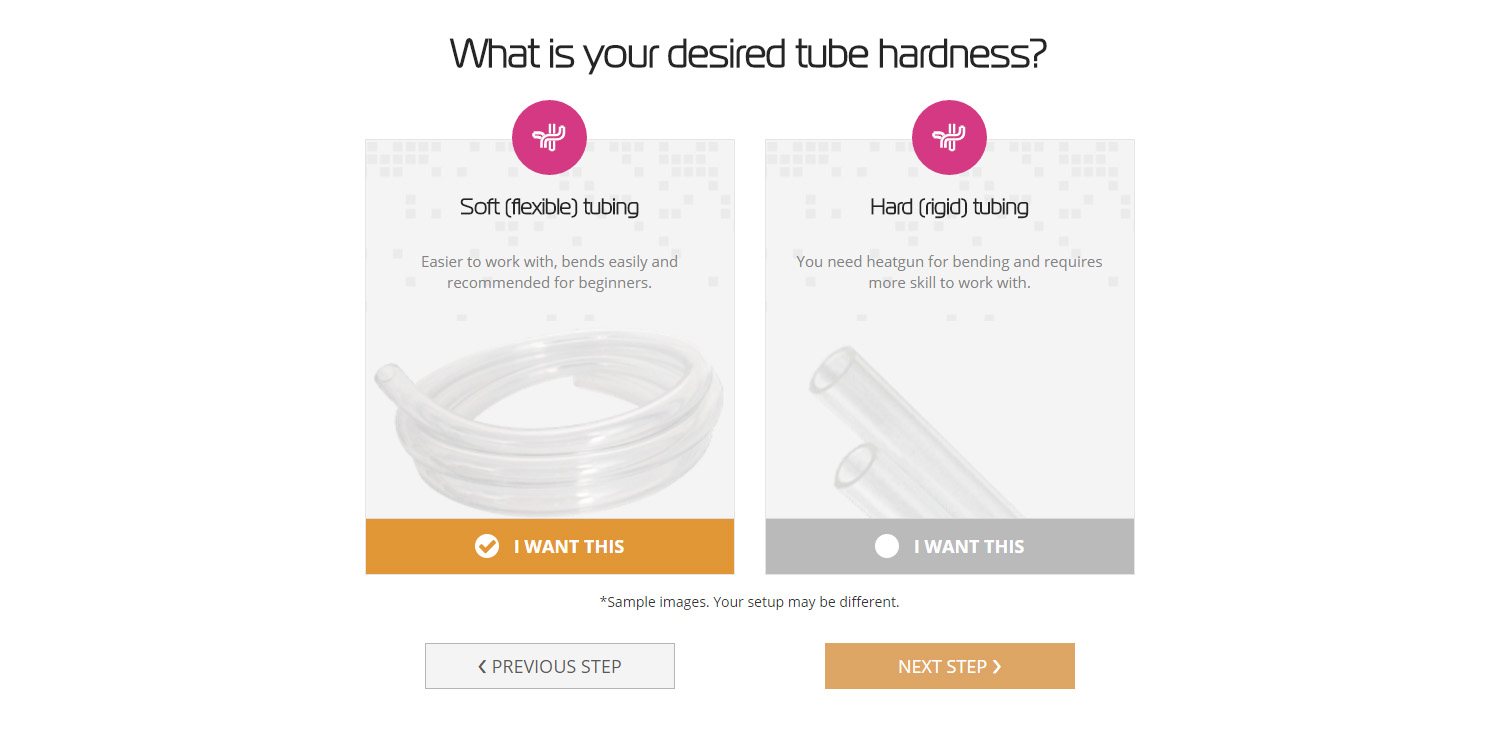
Step number four will let you choose whether you want a quick and easy setup with soft tubing, or you want to invest more time, and go for hard tubing. Choosing hard tubing will require you to have tools, like a heat gun, sandpaper, a saw for tube cutting, etc. to able to complete your cooling loop.

This step lets you choose the tubing diameter that you would like to use in your build and basically, the rest of the options will let you determine the aesthetics. The color of your tubes, coolant, and fittings are chosen on this step. Also, you can pick the details for your water blocks, whether you want blocks with Plexi or Acetal tops, or do you want to add a backplate to your GPU. We recommend using the backplate for every GPU not just for aesthetics reasons, but it also helps cool key parts of the graphics card and adds to its rigidity as well.
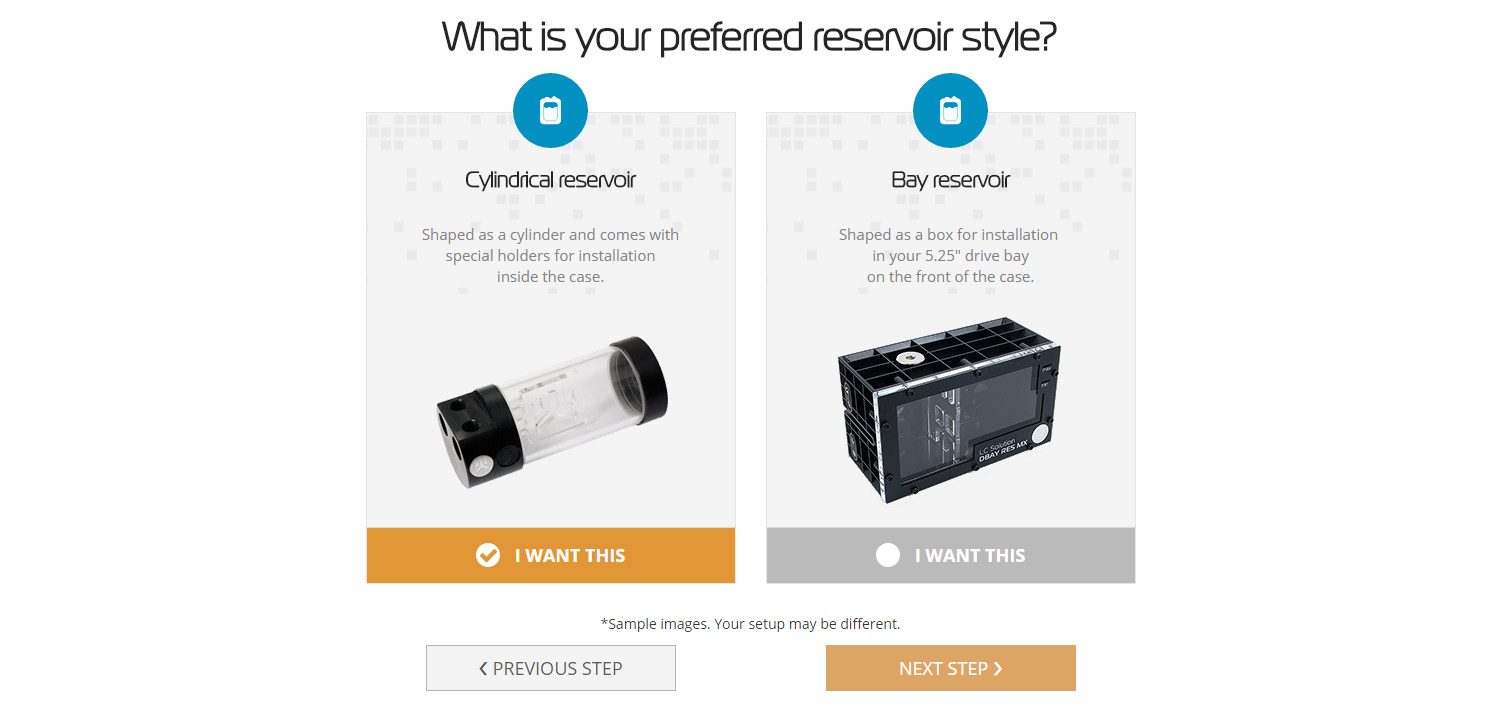
This step is offered to you only if the case model that you own has 5.25″ drive bays, and you have chosen soft tubing in the previous step. The reason for limiting this option only to soft tubing is because all of the 5.25″ bay reservoirs and pump combo units have the fill port from the top. In order to fill the reservoir or combo unit, you have to be able to pull it out of the 5.25″ bay, which requires the use of flexible soft tubing.

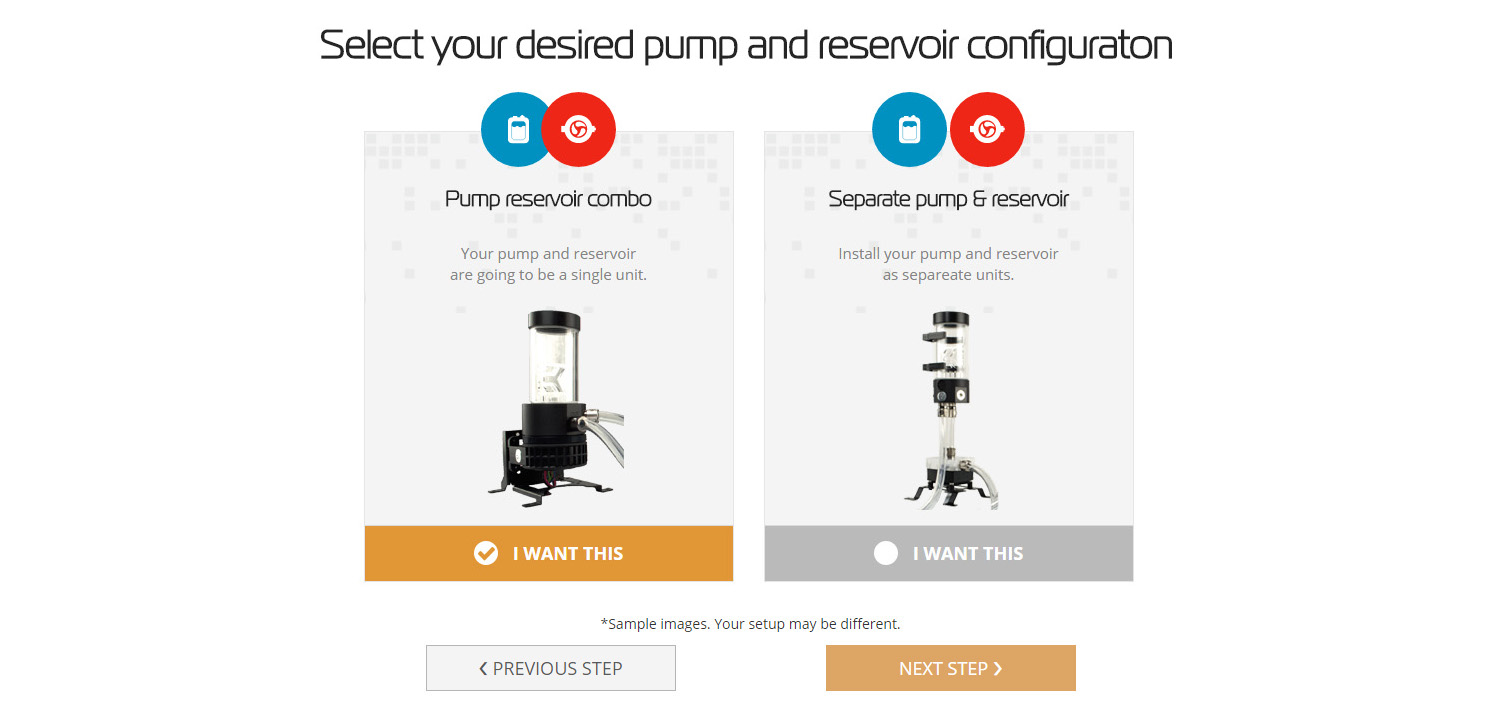
Our choice went for the classic cylindrical reservoir, so this is the next step. You are offered the choice of using a pump and reservoir combo unit, or you can go with a separate pump – reservoir setup. None of the two offered has any special advantage over the other. The combo unit is more compact, easier to use, but it takes up more space in one spot. If you go for a separate pump and reservoir setup, you have more freedom of managing your layout. The pump can be mounted further away from the reservoir, or can even be fitted into remote compartments in the case.

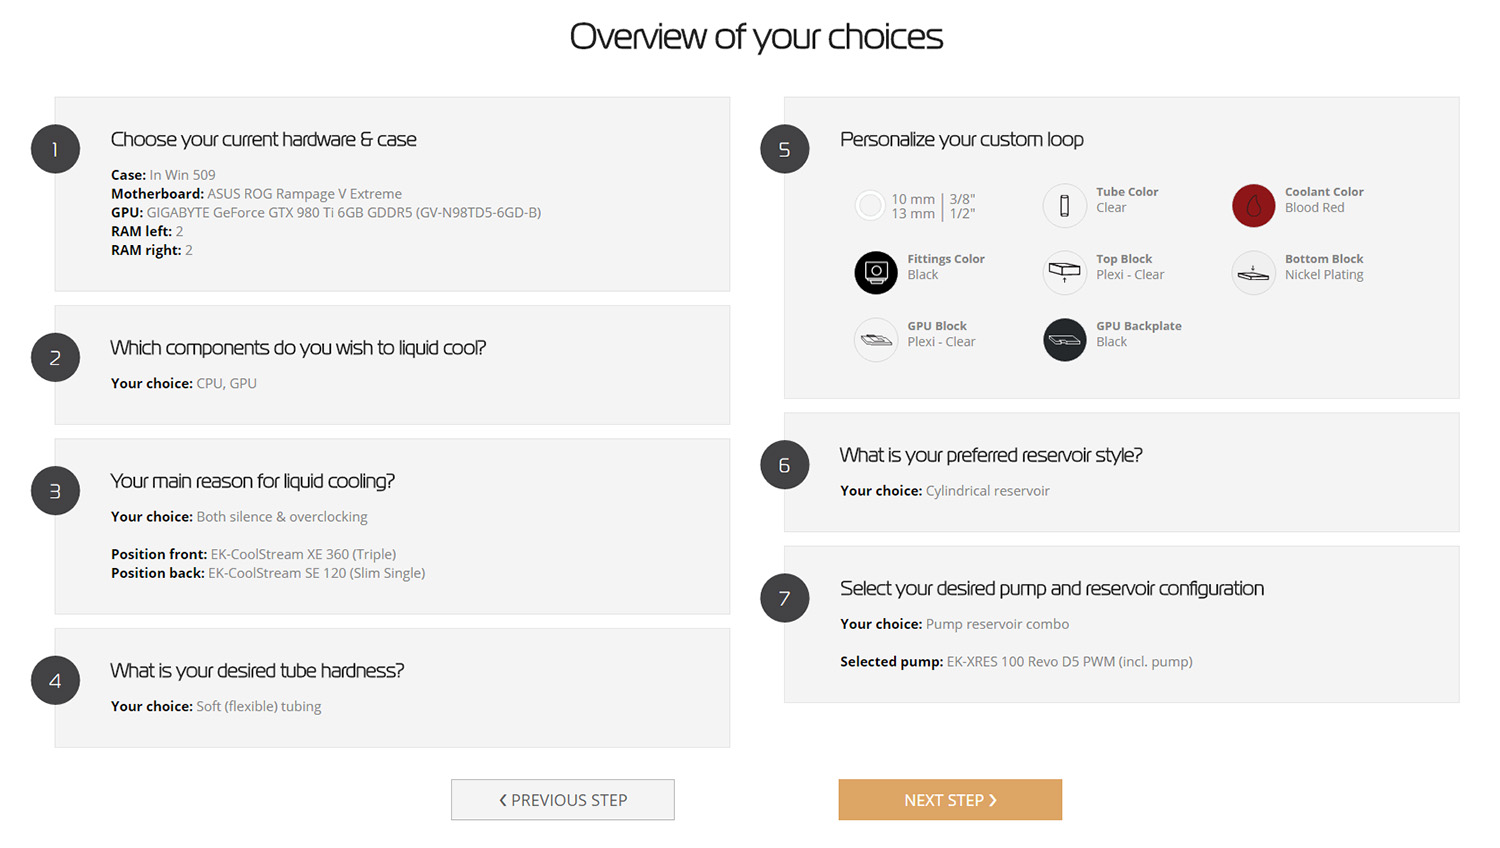
Before you get to the final step, the CLC gives you an overview of the choices you have made. If you have changed your mind or you are not satisfied with your choice, you can go back and still make changes to your custom loop. Let’s say everything is just right, we are pleased with the choice, so we can move to the last step of configuring our custom loop.

You are almost done! This is the final step where you can again preview what the CLC suggested you based on your input. You can see the photos of the actual parts and the end price for the entire set of parts that you need for completing a high-end liquid cooling loop. But! There is more! Don’t forget to scroll down and see the recommended optional parts that CLC offers you!
Be sure to check out the optional parts that the CLC offers you. These components are not necessary but they can make building your loop a much easier adventure! Anyone who has already built at least one loop will tell you to put one or two 90° fittings in the basket while shopping for your liquid cooling build. Optional cables can make your build more efficient so that you have the PWM regulation setup exactly like you want it. Additional angled adapter fittings can make the tube routing a much easier task, and can even improve the whole visual effect of your PC. Pump brackets can also help the overall layout planning hassle free, and can even save you from having to drill mounting holes for your pump, or reservoir pump combo.
This would conclude our short tutorial on the CLC. If you are still having some issues with the choice of components and still feel that you need help, feel free to contact our support team. No questions are rejected, everyone is welcome to ask and get informed about the pleasures of liquid cooling.
Browse our high performance Quantum, Lignum and Classic product lines, Kits and Accessories.
Not the DIY person? Check out our fully water-cooled prebuilt PCs.
… [Trackback]
[…] Find More to that Topic: ekwb.com/blog/what-is-clc-and-how-to-use-it/ […]
… [Trackback]
[…] Find More on that Topic: ekwb.com/blog/what-is-clc-and-how-to-use-it/ […]
… [Trackback]
[…] Find More here to that Topic: ekwb.com/blog/what-is-clc-and-how-to-use-it/ […]
… [Trackback]
[…] Information to that Topic: ekwb.com/blog/what-is-clc-and-how-to-use-it/ […]
… [Trackback]
[…] There you can find 23038 additional Information on that Topic: ekwb.com/blog/what-is-clc-and-how-to-use-it/ […]
… [Trackback]
[…] Find More here on that Topic: ekwb.com/blog/what-is-clc-and-how-to-use-it/ […]
… [Trackback]
[…] Find More here on that Topic: ekwb.com/blog/what-is-clc-and-how-to-use-it/ […]
… [Trackback]
[…] Information to that Topic: ekwb.com/blog/what-is-clc-and-how-to-use-it/ […]
… [Trackback]
[…] Read More here on that Topic: ekwb.com/blog/what-is-clc-and-how-to-use-it/ […]
… [Trackback]
[…] There you can find 83798 additional Info to that Topic: ekwb.com/blog/what-is-clc-and-how-to-use-it/ […]
… [Trackback]
[…] Read More on that Topic: ekwb.com/blog/what-is-clc-and-how-to-use-it/ […]
… [Trackback]
[…] Info on that Topic: ekwb.com/blog/what-is-clc-and-how-to-use-it/ […]
… [Trackback]
[…] Information on that Topic: ekwb.com/blog/what-is-clc-and-how-to-use-it/ […]
… [Trackback]
[…] Find More to that Topic: ekwb.com/blog/what-is-clc-and-how-to-use-it/ […]
… [Trackback]
[…] Information on that Topic: ekwb.com/blog/what-is-clc-and-how-to-use-it/ […]
… [Trackback]
[…] Find More Info here to that Topic: ekwb.com/blog/what-is-clc-and-how-to-use-it/ […]
… [Trackback]
[…] Read More Information here on that Topic: ekwb.com/blog/what-is-clc-and-how-to-use-it/ […]
… [Trackback]
[…] Read More Info here on that Topic: ekwb.com/blog/what-is-clc-and-how-to-use-it/ […]


 Acidic by High Resolution Computers
Great article 🙂