Learn more about EK products
Visit EK Shop
Browse our high performance Quantum, Lignum and Classic product lines, Kits and Accessories.
Fluid Gaming Prebuilt PCs
Not the DIY person? Check out our fully water-cooled prebuilt PCs.

Custom liquid cooling looks intimidating but for many gaming PC builders, it’s actually one of the most satisfying upgrades you can make. It’s quieter than air cooling, keeps high-end hardware running cooler, and transforms your PC into a true centerpiece of your setup.
At its core, custom liquid cooling is simply a way of keeping your gaming PC cool by using liquid instead of large air coolers and fans. Unlike all-in-one (AIO) liquid coolers, which come pre-assembled, a custom loop lets you choose and connect each part yourself. While that might sound complicated, it’s much easier than most people expect — and this guide walks you through the basics step by step.
Ready to skip straight to the parts list? If you want the simplest, beginner-friendly way to get started, we’ve put together a complete first custom loop kit you can build for under $500, using EK components and soft tubing.

Quick Start: What You Need for a First Custom Loop
Don’t worry — this guide explains each part in detail below.
How Does Custom Liquid Cooling Work?
Just like an AIO, a custom-loop is made up of three main components.
CPU & GPU Water Blocks
Water blocks keep your CPU and GPU cool by running liquid coolant directly over the areas that generate heat. CPU blocks are easily installed, with mounting systems almost identical to AIO, making installation straightforward even for first-time users.
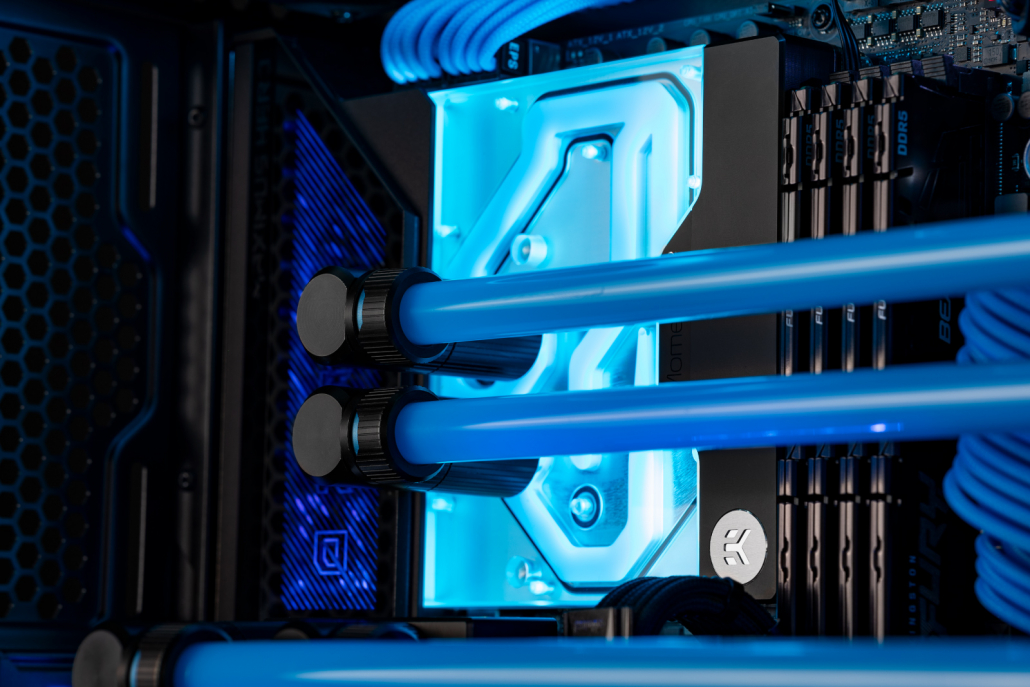
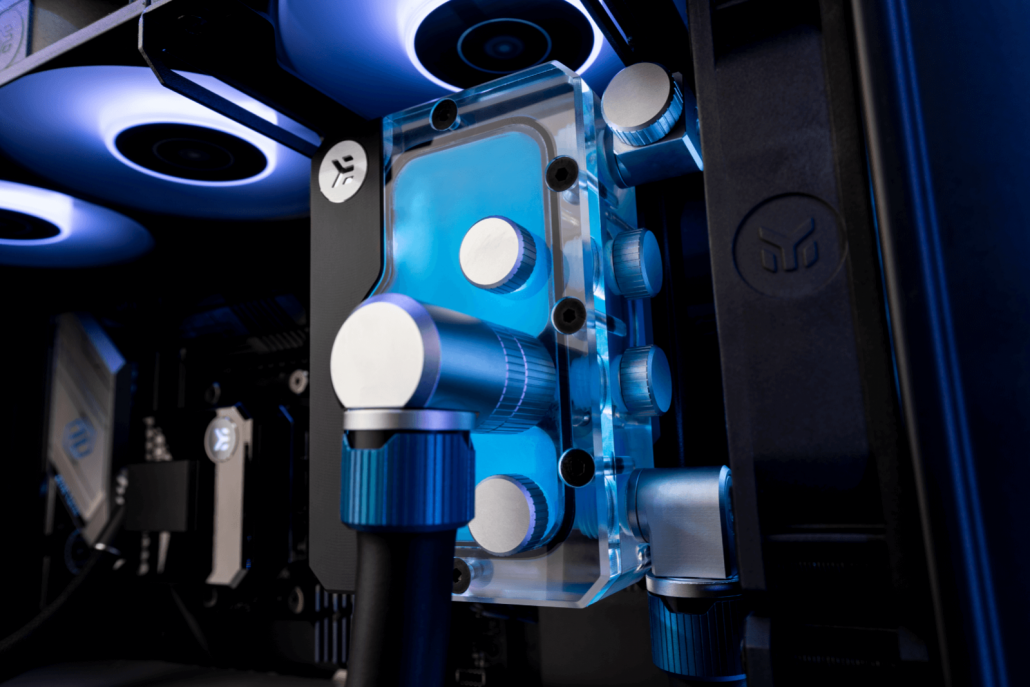
Pump & Reservouir Combo Unit
This may sound complicated, but it’s just an acrylic reservoir that holds your coolant, combined with a pump that moves the liquid around the loop. In an AIO, the pump is built into the CPU block. In a custom loop, using a larger pump and more coolant helps deliver lower temperatures and quieter operation.
Radiator
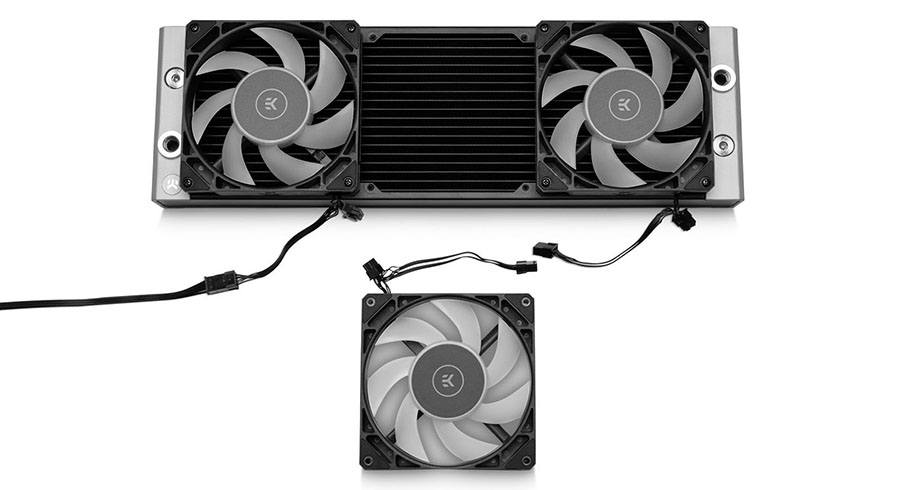
The radiator is how your custom loop removes heat from your gaming PC. Fans push cool air through the radiator, pulling heat out of the coolant and exhausting warm air from the case. The more radiator space you have, the cooler your CPU and GPU can run.
Why Do Gamers Choose Custom Liquid Cooling?
Gamers choose custom liquid cooling when they want more control over performance, noise, and appearance.
Is Custom Liquid Cooling Safe for Beginners?

Build this CPU custom-loop for under $500.
If you’re new to liquid cooling, it’s normal to feel unsure at first — but a custom loop can be as simple or as visually striking as you want. The easiest way to get started is with soft tubing, which installs very similarly to an AIO.
Soft tube compression fittings may sound complicated, but they’re actually very simple. Think garden hose: push to connect, then screw it tight.
Here’s how it works:
That’s it. Once you get over the fear of connecting the fittings, everything else becomes much easier. Hard tubing can come later — one of the biggest advantages of a custom loop is that it’s fully upgradeable. Start simple and improve it over time.
What kit do I need to build a custom-loop and how much does it cost?

Don’t worry — you don’t need everything at once. This section covers the simplest, most beginner-friendly starting point, and you can always upgrade or expand your loop later.
When building your first custom loop, it’s best to keep things simple. A basic CPU-only custom loop can be built for under $500, making it a realistic starting point for most gaming PC builds.
If you’d rather start with a pre-selected, beginner-friendly configuration, you can also check out our recommended custom loop kit under $500, which includes everything you need to get started.
CPU Water Block
Whether you’re using Intel or AMD, a CPU water block is essential. A CPU water block like the EK-Quantum Velocity³ supports current platforms and keeps installation straightforward for beginners.
Radiator
Just like AIOs, custom loops use standard radiator sizes such as 120 mm, 240 mm, and 360 mm. Most ATX cases support a 360 mm radiator, which is an excellent choice for a first custom loop.
The EK-Quantum Surface P360M is a great all-rounder thanks to its performance and broad compatibility, making it an ideal choice for beginners.
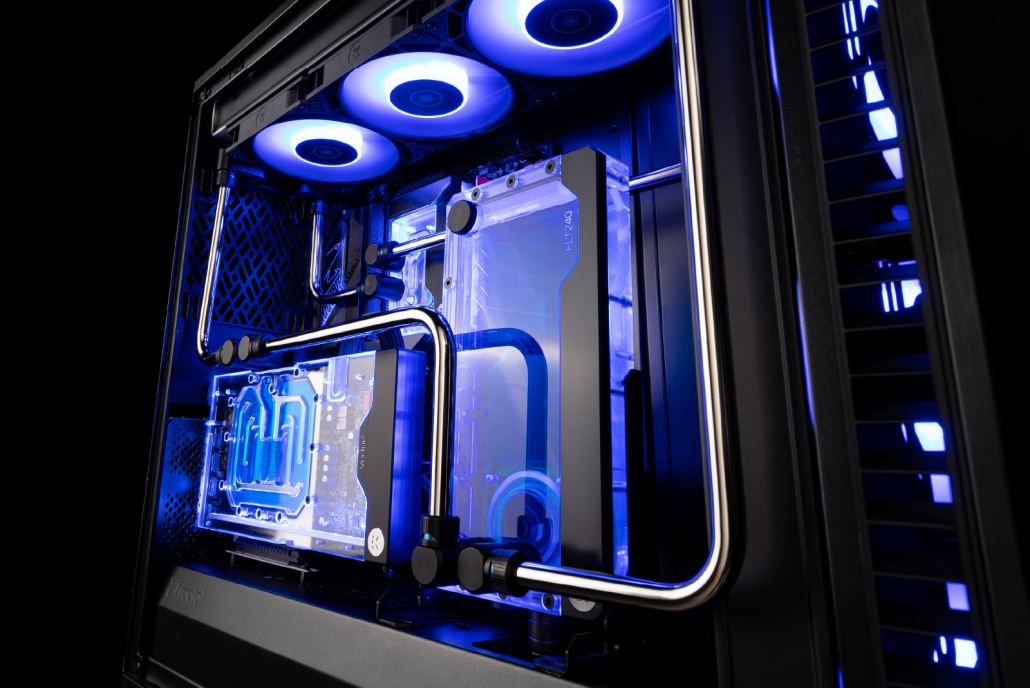
Pump & Reservoir Combo Unit
As covered earlier, the pump & reservoir combo unit holds coolant and keeps it circulating through your custom loop.
For a first build, the EK-Quantum Kinetic³ FLT D5 is a great choice. It can be mounted to a 120 mm fan position or directly to a radiator, making it compatible with most ATX cases. The D5 pump also provides plenty of headroom for future upgrades.
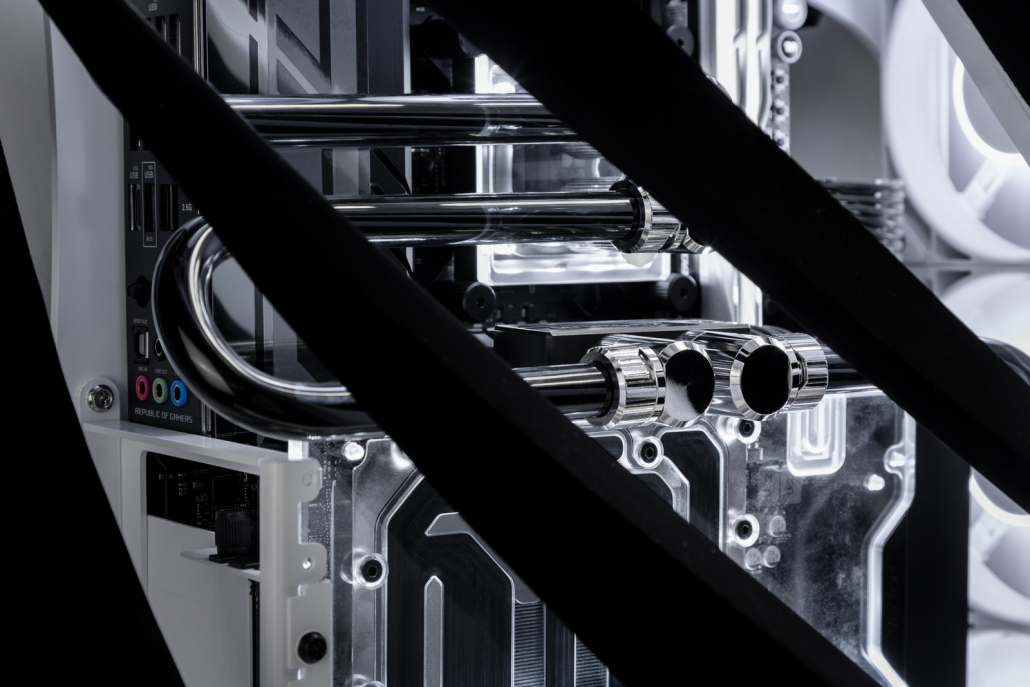
Soft-Tubing & EK Torque STC Fittings (Soft Tube Compression)
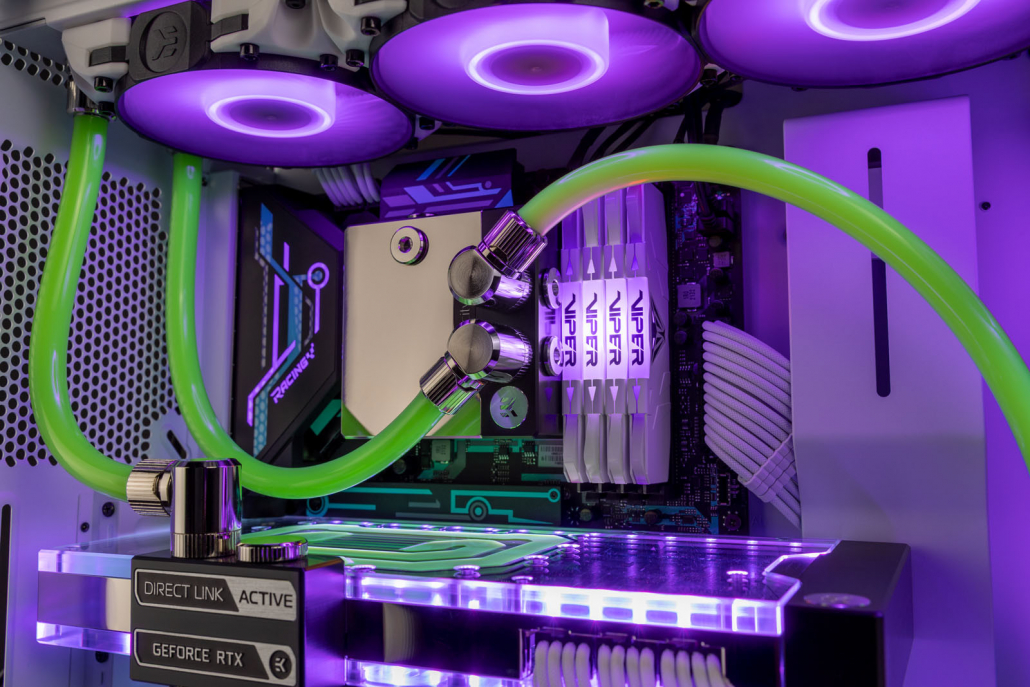
Soft tubing with compression and rotary fittings installed in a custom liquid-cooled gaming PC.
Once you have the main components, all that’s left is connecting everything together.
For beginners, EK-Loop Soft Tube 12/16 mm is a great all-round choice — flexible, easy to work with, and widely supported.
You’ll also need EK-Quantum Torque STC 12/16 mm compression fittings. For a simple CPU-only loop, you’ll need:
90 Degree Rotary Fittings
90-degree rotary fittings make soft tubing runs cleaner and easier to route, especially for first-time custom loops.
When building your first soft-tube loop, we recommend adding a few 90-degree rotary fittings. They aren’t required, but they make tube routing much cleaner.
These fittings screw into your compression fittings and allow tubing to exit components at a clean angle, with built-in rotation for an ultra-clean finish.
We recommend starting with 2 x EK-Quantum Torque Rotary 90°
Choosing Your Coolant – Customize Your Custom-Loop
EK-CryoFuel Space Black clear coolant inside a custom-loop gaming PC.
This is the fun part — and also where beginners tend to overthink things — so keeping it simple is the best approach for your first custom loop.
A clear premixed coolant is the safest option for beginners. It contains distilled water, dye, and additives to help prevent corrosion. Don’t forget a fill bottle, it makes filling and bleeding your loop much easier.
Opaque coolants like EK-CryoFuel Solid and EK-CryoFuel Mystic Fog look incredible, but they contain suspended particles and require more frequent maintenance. These are best saved for later builds.
Prep Your Custom-Loop BEFORE filling
When assembling your custom-loop, you will need to flush your radiator before filling your custom-loop with your coolant, you can either do this with distilled water – or with our EK-CryoFuel Loop Cleaner. All custom-loop radiators will need a quick flush before use just to ensure there is no hidden debris, this will ensure your blocks stay ultra-clean.
Fans
If you’re upgrading from an existing cooling solution, you can often reuse your current 120 mm case fans. Alternatively, fans designed specifically for liquid cooling, such as EK-Quantum Phase 120 mm, offer high static pressure and low noise output, making them ideal for radiator use.
✅Checklist: Your First Custom Loop
If you’re building your first custom loop, this is all you need to get started:
If your build matches this list, you’re starting in the safest, most beginner-friendly way possible.
Ready to Start Your First Custom Loop?
If you’re ready to take the next step, you can start with a simple CPU-only custom loop and expand later as your confidence grows. Custom liquid cooling doesn’t need to be complicated — start simple, enjoy the process, and upgrade when you’re ready.
FAQ: Custom Liquid Cooling for Beginners
Is custom liquid cooling better than an AIO?
Custom liquid cooling offers more flexibility, lower noise potential, and better cooling headroom than most AIOs, but it requires more planning. For beginners, starting with a CPU-only custom loop is a safe middle ground.
Is custom liquid cooling hard to maintain?
Not if you keep it simple. Using soft tubing and clear premixed coolant minimizes maintenance and makes upkeep very manageable for first-time users.
How often do I need to change coolant?
Clear premixed coolant is typically changed every 12 months. Opaque or pastel coolants may require more frequent changes.
Can I add a GPU later?
Yes. One of the biggest advantages of a custom loop is that it’s fully upgradeable. Many builders start with CPU cooling and add a GPU water block later.
Get the most out of your liquid cooling experience. Learn the latest EK news and water-cooling tips and tricks, or share your thoughts with our team and other enthusiasts.


 AIR COOLING vs LIQUID COOLING FOR GAMING PCS (2026)

